Three steps. Two minutes. Done.
Toss is already set up. This gets you to your first real capture — and proves it works — in the next two minutes.
1 Make your first capture
Go to the home screen. Tap the big mic button.
Say something real — a task on your mind, a reminder, a follow-up. Then tap Toss.
You'll see a quick confirmation, then Toss returns you to the home screen. Your capture is already on its way.
Other ways to capture:
Text — bottom left button
Photo or file — bottom right button
Screenshot from any app — tap Share, pick Toss
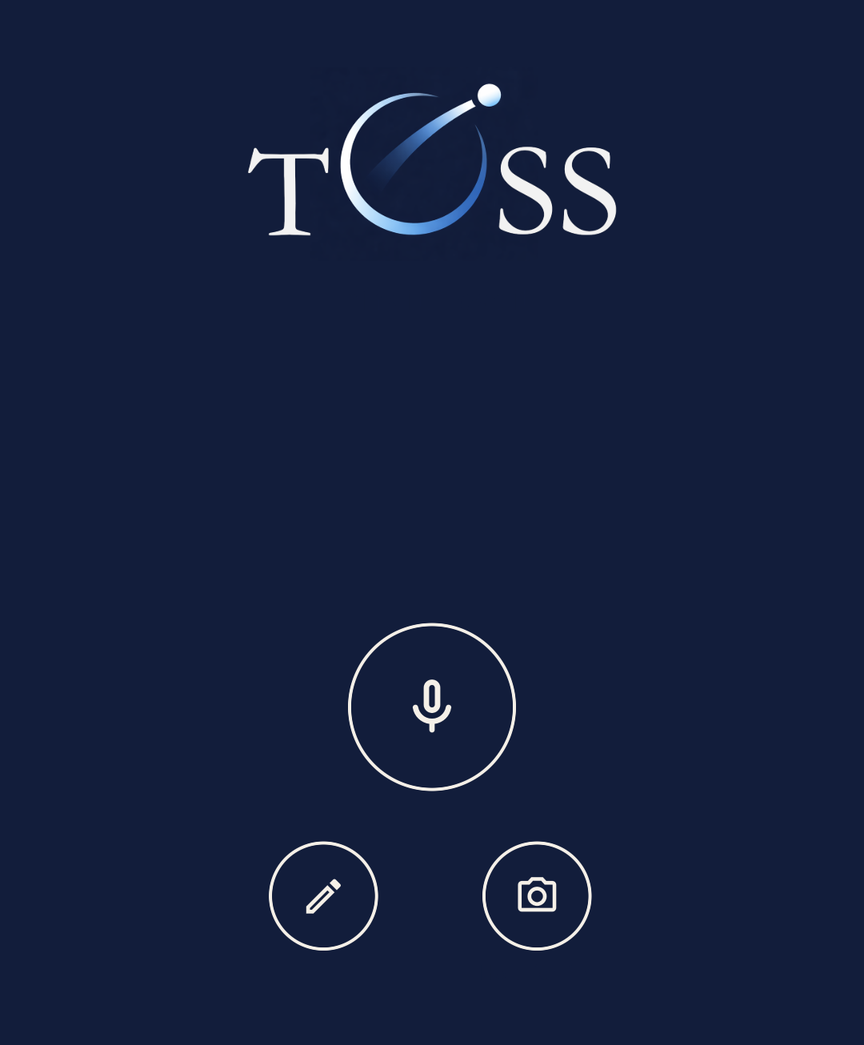
Tap mic → speak → tap Toss.
2 Check your inbox
Open the email address you used to sign in to Toss. Your capture is already there.
That's Toss working. Your thought left your head, went through the app, and landed somewhere real — in a workflow you already use.
Nothing in your inbox yet? You might be offline. Tap the clock icon in Toss — if it shows Queued, it will send automatically when you reconnect. Nothing is lost.
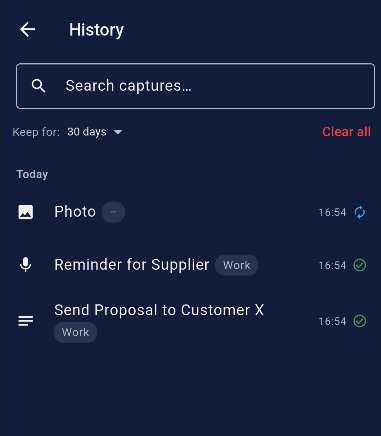
Sent in the history means it's in your inbox.
3 Point it at the right inbox
By default, Toss sends to the email you signed in with. If that's not where you want captures to go, change it now.
Tap the gear icon → tap the edit icon next to Me → update the email address. Done.
That's the only setting that matters for now. Everything else — AI style, multiple destinations, voice prefix routing — you can explore once you're in the habit.
On Pro? Tap + Add in Settings to create a second destination — a work address, a support inbox, a shared team email. Route to it manually or say "For Work, …" at the start of your voice note and Toss routes automatically.
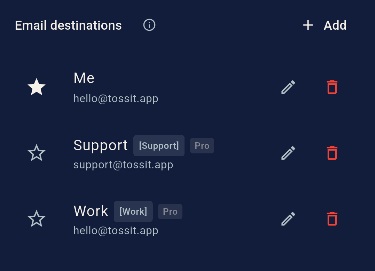
Settings — tap edit next to Me to change the destination email.
You're capturing. What's next?
These three things make Toss significantly more useful — when you're ready.
Add a second destination Pro
Create a Work or Support destination with its own email address. Route captures there manually, or say "For Work, …" and Toss routes automatically.
Set your AI style Pro
In Settings → AI & Routing, choose how your voice notes arrive: bullet points, prose, or clean transcript. Override per destination.
Try the share sheet
In any Android app, tap Share and pick Toss. Screenshots, files, links — captured and routed without ever opening the app.
Want the full picture?
The complete Quick Start Guide covers every setting, routing option, and AI feature — with screenshots of each screen.