
1. Sign in with Google
Open Toss and sign in with your Google account, the only login option in v1.0. No password to set up.
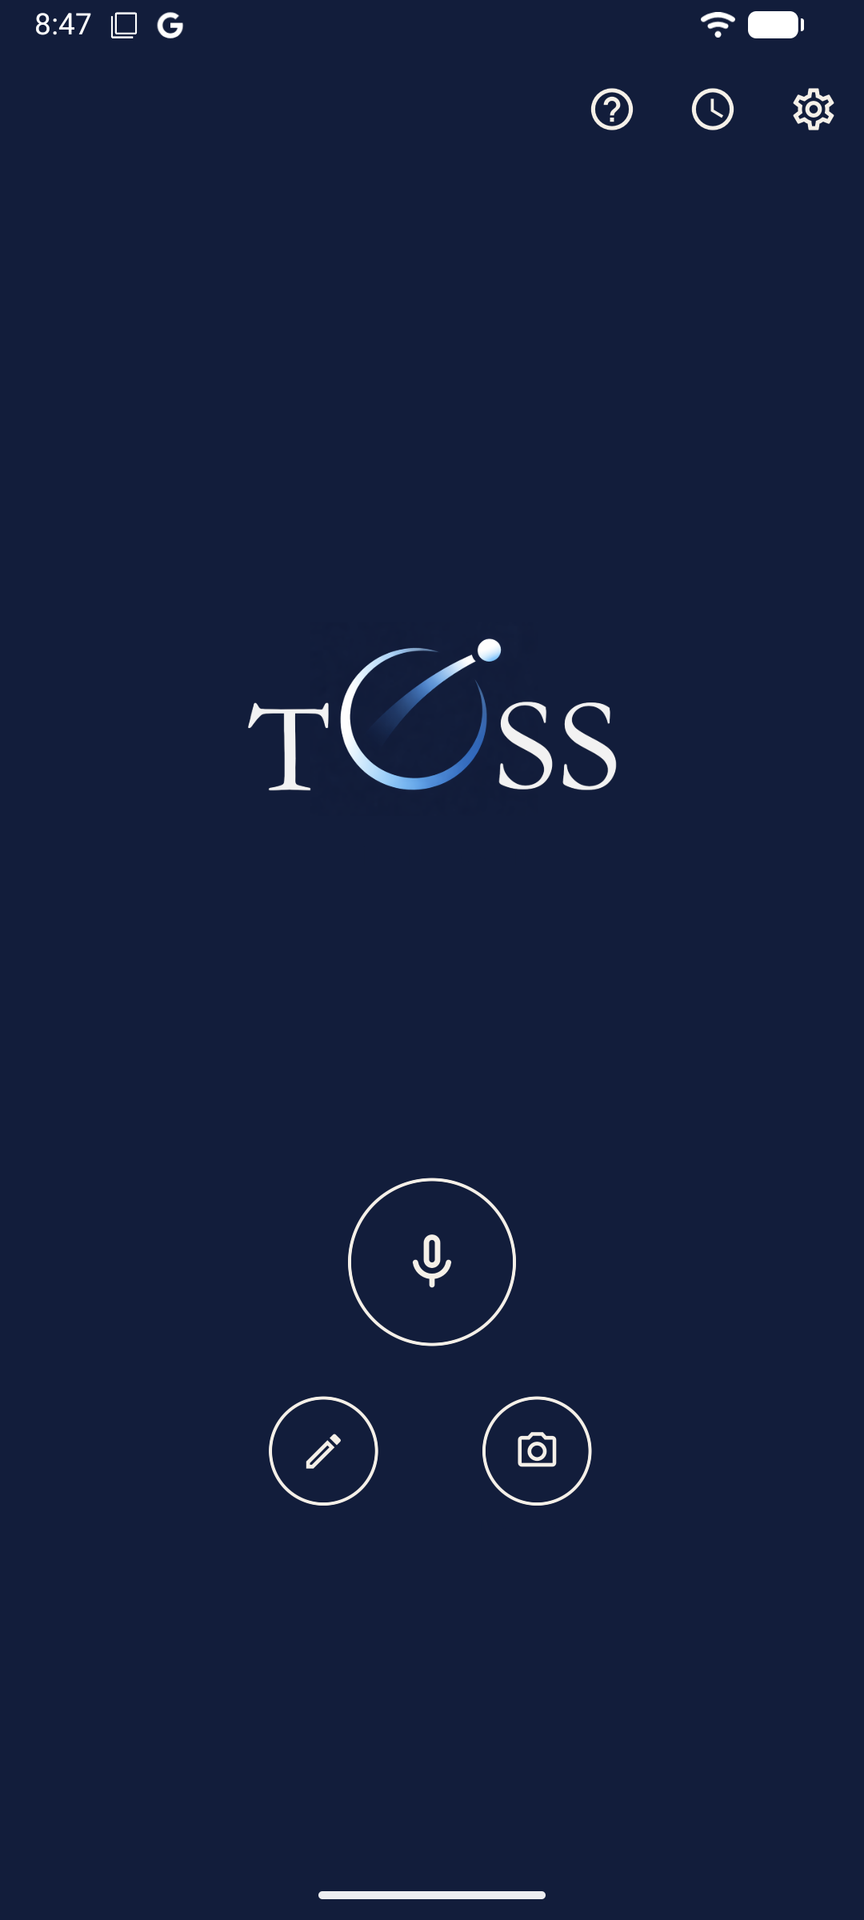
Once signed in, you land on the home screen. You’ll see a banner confirming your 14-day Pro trial is active: all Pro features are unlocked from day one, no credit card needed.
At the top right of the home screen, three icons you’ll use often:
- ? opens this guide in your browser
- Clock opens your capture history
- Gear opens Settings
Customise the home screen
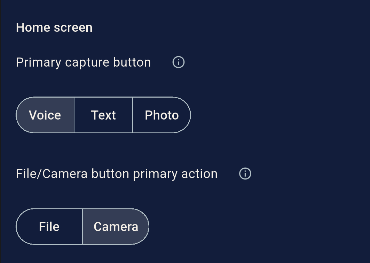
In Settings you can change the primary capture button (the large centre button) to Voice, Text or Photo, whichever you reach for most. You can also set the File/Camera button to open either the camera or the file picker by default. Long-pressing that button always opens the other option.
2. Set up your destinations
A destination is where Toss sends your captures: a name, an email address, and settings for how it arrives.
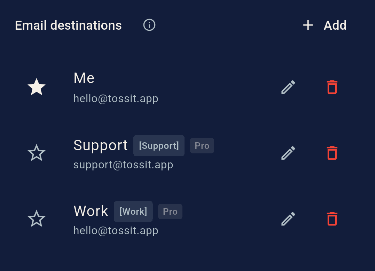
Tap the gear icon to open Settings. You’ll find a Me destination already created with your Google login email. It’s starred, meaning it’s your default. Captures that can’t be auto-routed always go here. It’s also the reply-to address on every email Toss sends.
On the free plan, Me is your only destination. On Pro, tap + Add to create as many as you need.
To change your default destination, tap the star next to any destination in the list. Only one can be starred at a time.
Configuring a destination (Pro)
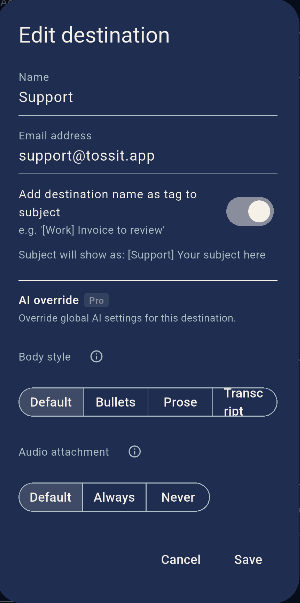
Tap + Add or the edit icon next to any destination to open the Edit destination screen:
- Name: what you call it (e.g. “Support”, “Work”). This is the word Toss listens for in the voice prefix.
- Email address: where captures get sent. Two destinations can share the same address, told apart by their subject tag.
- Subject tag: toggle on to add [DestinationName] to the email subject line. Makes filtering and automations precise on the receiving end.
- AI override: override the global AI settings for this destination: body style (Bullets, Prose or Transcript) and whether to attach the original audio file (Default, Always or Never).
Global AI & Routing settings (Pro)
Scroll further in Settings to find AI & Routing. These apply globally unless overridden per destination:
- AI language: auto-detect by default. Set a specific language if you always capture in the same one.
- AI body style: Bullets for action lists, Prose for natural paragraphs, Transcript for the cleaned raw Whisper output.
- Attach audio: include the original voice recording as an email attachment.
- CC my default email: copies every send to your Me address. Useful while testing to see exactly what arrives where.
3. Make your first capture
The home screen has three capture buttons. Each one does one thing.
- Voice: tap once, recording starts immediately. Talk, then tap Toss when done.
- Text: opens a text input screen. Type your note, choose a destination (Pro) or use your default, tap Toss.
- Photo / File: opens the camera or the file picker depending on your Settings. Long-press to switch between the two. Add a voice note for context before tossing.
You can also share directly from any Android app (screenshot, image, file): tap Share and select Toss from the share sheet.
Choosing where your capture goes
While recording a voice note, you’ll see an Auto route toggle. This controls how routing works:
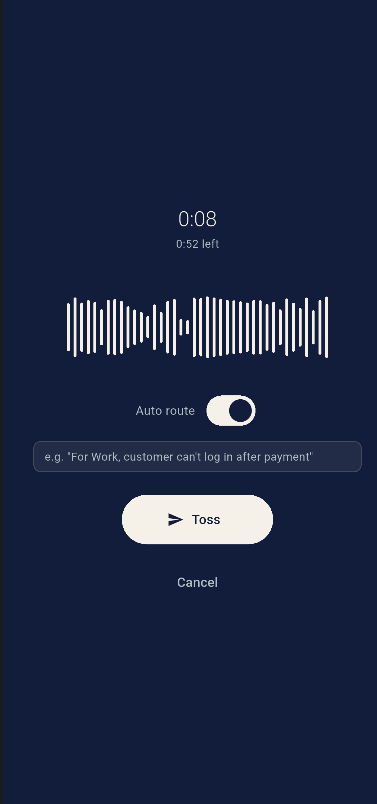
Auto route ON Start your note with "For Work, …" or "For Support, …", using your destination name. Toss detects the prefix after processing and routes automatically. No tapping required.
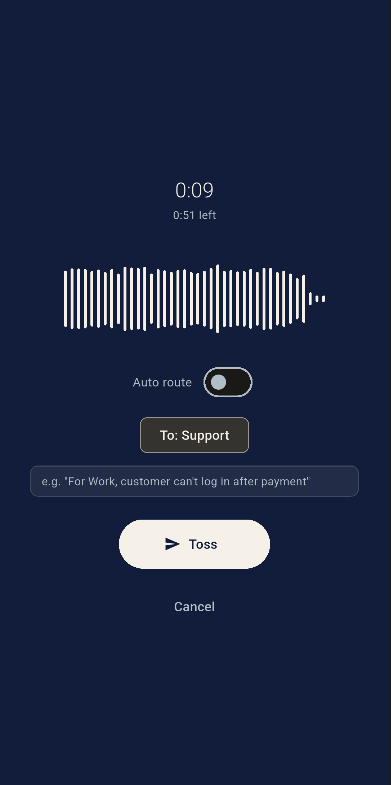
Auto route OFF A destination button appears while you record. Tap it to open your destination list and choose where this capture goes. Then tap Toss.
After you tap Toss
A quick confirmation screen appears, then Toss returns you to the home screen, or back to the app you were in if you came from the Android share sheet. The capture is queued and sent in the background. Check the history screen to see when it’s been delivered.
4. Check your history
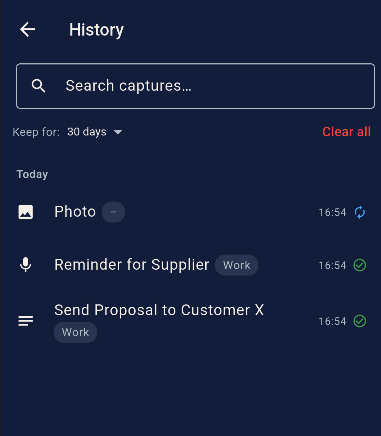
Tap the clock icon to see everything you’ve tossed: subject, destination and status. Tap any item to see the full generated email body, destination details (name, tag, email) and date of capture.
Each capture shows one of three statuses:
- Queued: waiting to send, usually offline. Sends automatically when connected.
- Sent: delivered. Tap to see the transcript and AI treatment.
- Error: something went wrong. Tap the item and use Retry to resend.
Managing history: swipe left on any item to delete it. History is kept for 30 days by default; change this to 7, 30, 90 days or forever in Settings. Use the clear option at the bottom of the history screen to wipe all local data.
Tips to get the most out of Toss
- Star your most-used destination. The starred destination is your default fallback. Tap the star next to any destination in Settings to change it.
- Use subject tags for automation. If you use Zapier, Make or email filters, turn on subject tags. [Support] or [Work] gives your automation a reliable trigger.
- CC yourself while testing. Turn on “CC my default email on every send” while setting up. You’ll see exactly what arrives at each destination and can tune AI settings accordingly.
- Set AI style per destination. Your task inbox probably wants bullet points. Your ideas inbox might prefer prose. Override the global AI setting per destination.
- Use the Android share sheet. The fastest way to route screenshots and files. Tap Share in any app, pick Toss, route without opening the app first.
- Try the voice prefix (Pro). Start any voice note with “For Work, …” or “For Support, …” using your destination name. Toss routes it automatically.
Common questions
My voice note was routed to the wrong destination. What happened?
With auto route on, Toss looks for a prefix that matches one of your destination names. If it doesn’t find a clear match, it falls back to your starred default destination. Make sure your prefix matches the destination name exactly, or switch to manual routing by turning auto route off.
My capture shows as Queued and hasn’t sent.
Queued means Toss captured your note but hasn’t been able to send it yet, usually because of a missing or weak connection. It will send automatically when you’re back online. If it stays queued after reconnecting, open the history, tap the item, and tap Retry.
The email arrived but there’s no transcript, just the audio file.
Transcription and AI treatment are Pro features. On the free plan, Toss sends the audio file without a processed transcript. Upgrade to Pro to get Whisper transcription and AI body style on every capture.
How do I change my default destination?
In Settings, tap the star icon next to any destination in the list. Only one destination can be starred at a time. The starred destination is the fallback for any capture that can’t be auto-routed.
What happens when my 14-day trial ends?
After the trial, Toss reverts to the free plan: one destination, core capture, no AI treatment. Your destinations and settings are saved. If you upgrade to Pro, everything picks up where it left off.
How do I delete a capture from my history?
Swipe left on any item in the history list. To clear everything, use the clear option at the bottom of the history screen. This only clears local history on your device; it doesn’t unsend emails that have already been delivered.